Elastic

Makes the shape deform and react to movements of the layer in an elastic way. Shape parts are deformed more, the further they are away from the anchor point of the layer.
Note that the expression only reacts on movements of the layer (or its parents) but not on changes of the path it self.
Tip: If your have multiple path, vary the parameters (like delay and wobble frequency) slightly to get a rich and dynamic result.
Examples

In this example we wiggled position and rotation of the text and then converted it to shapes such that we could apply the Elastic iExpression, which adds some deformation to the text. Finally we applied the Trail expression to a few paths on a new shape layer to create the white speed lines.

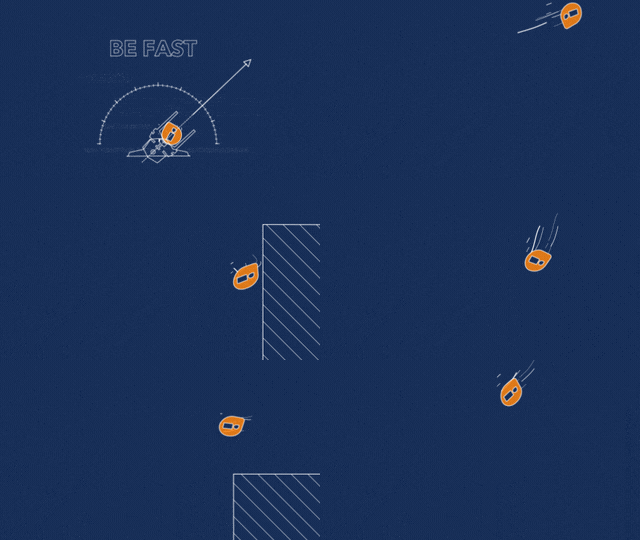
For this animation we combined
- the Throw 2D with Walls iExpression for the motion
- the Trail iExpression for the speed lines and
- the Elastic iExpression to deform the logo
Instead of linking the trail expression directly to the logo, we linked it to a null layer with the same position as the logo, but no rotation. That way the trails follow the position, but not the rotation. We also applied the Basic Wiggle iExpression to this null to wiggle the speed lines a bit.

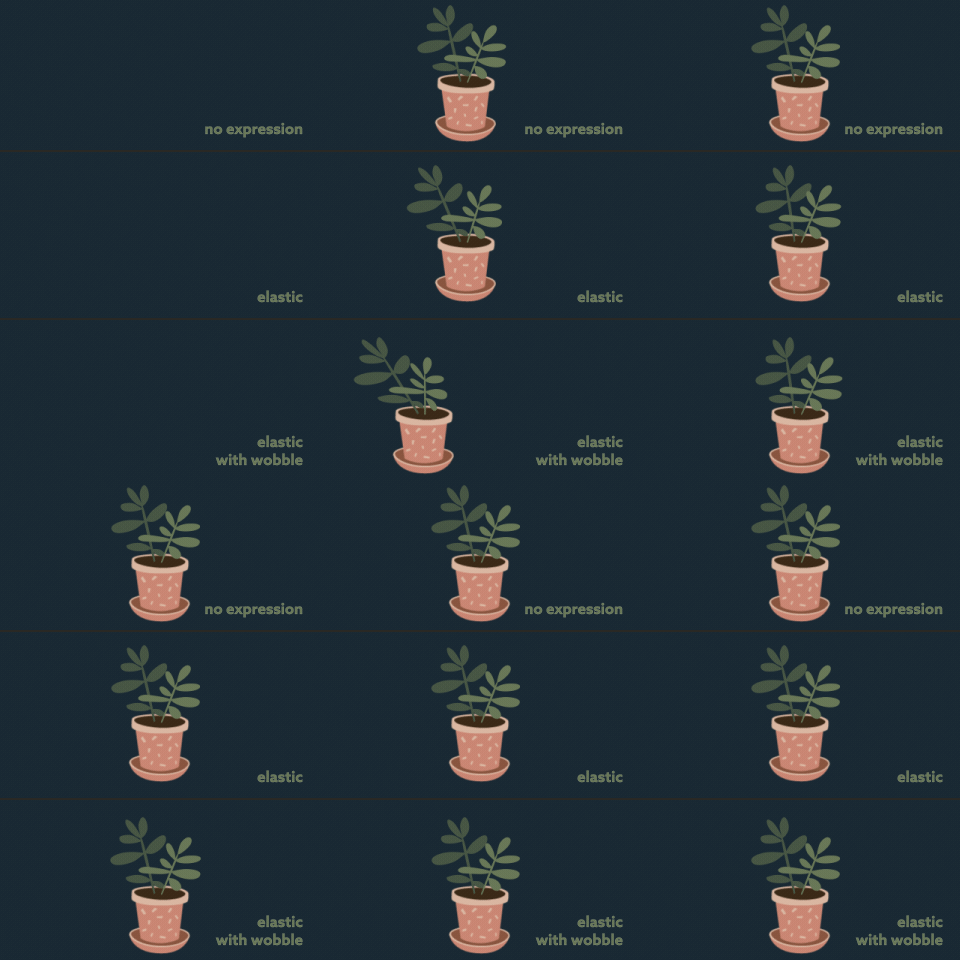
In this example each of the two branches is one shape layer with the elastic expression applied to its path. The anchor point of the layers is at the bottom of the branch, such that the deformation originates from that point.
Variation: In the wobble variant, we varied the wobble frequency a bit (3 vs 3.5) such that the branches don't swing in sync. A bit more subtle bit still visible is that in the variant without wobble the delay is slightly different for each of the two branches (0.2s vs. 0.25s), such that the darker, bigger branch overshoots a bit more and longer. These little variations are not obvious but add a lot of life and realism.
Easing: Wobble works best, it your layer stops abruptly, hence, we used linear keyframes for the variant with wobble. Without wobble, the overshooting looks much better with eased keyframes. Therefore, in the other variants, we applied an ease in, such that the motion stops softly.

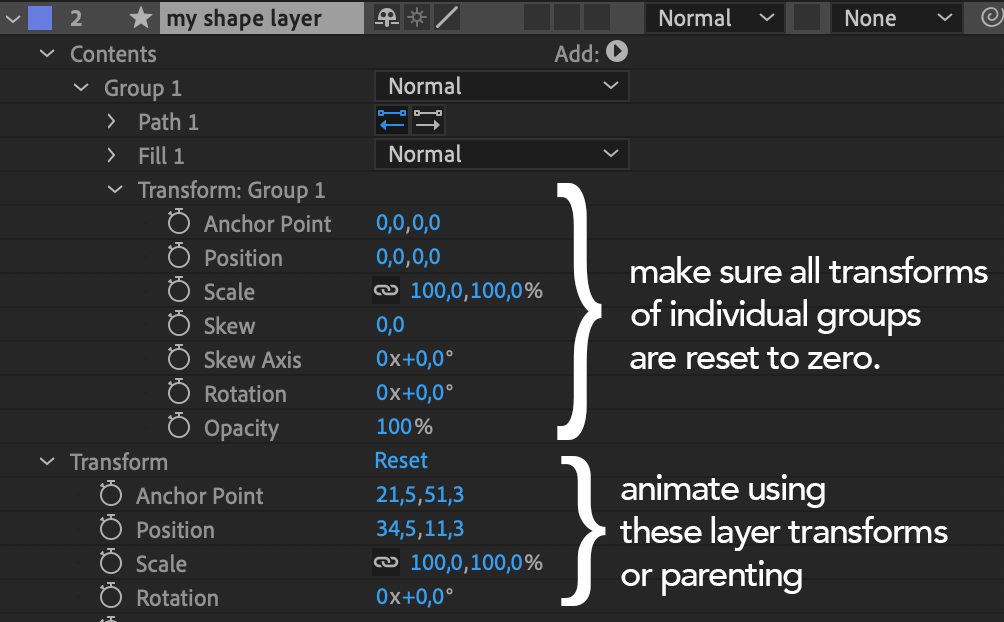
If the path is nested inside groups, make sure that all their transforms are at default values. You can animate the layer by animating the layer transforms or using parenting. If you have several shapes that should move in different ways, place them on separate layers. All of this is necessary, since the expression measures the movement of the shape based on the movement of the layer's anchor point. So if you animate using transforms of individual groups, this movement is ignored by the expression. Also, the deformation is calculated such that it originates from the anchor point, and this only works properly, if the individual group transforms are reset to zero. If you notice that the shape does not stick to the anchor point during deformation, make sure to reset the group transforms.
Download at aescripts.com