User Interface & Comments
These blocks allow you to create user interfaces, like showing a message or asking the user to enter a value or confirm an action. There are also some blocks that help you to document your code and link to external resources.
Input
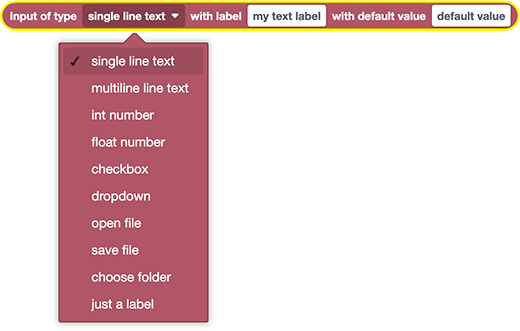
With this block you can create all kinds of user interface elements in the inputs panel of Automation Blocks. Whenever you add an input block to your script, a corresponding input shows up in the inputs panel. When you run a tool, the values are retrieved from the inputs panel and inserted in the block code.
These two blocks behave exactly identical, for example, except that the actual text of the green Text block can only be changed in the block editor, whereas the text of the red Input block can be changed in the inputs panel:

When you export a tool as jsx script, the values of the panel at the time of the export are used. If you want a jsx script to show a user interface when it is launched, you need to use a modal input dialog instead.
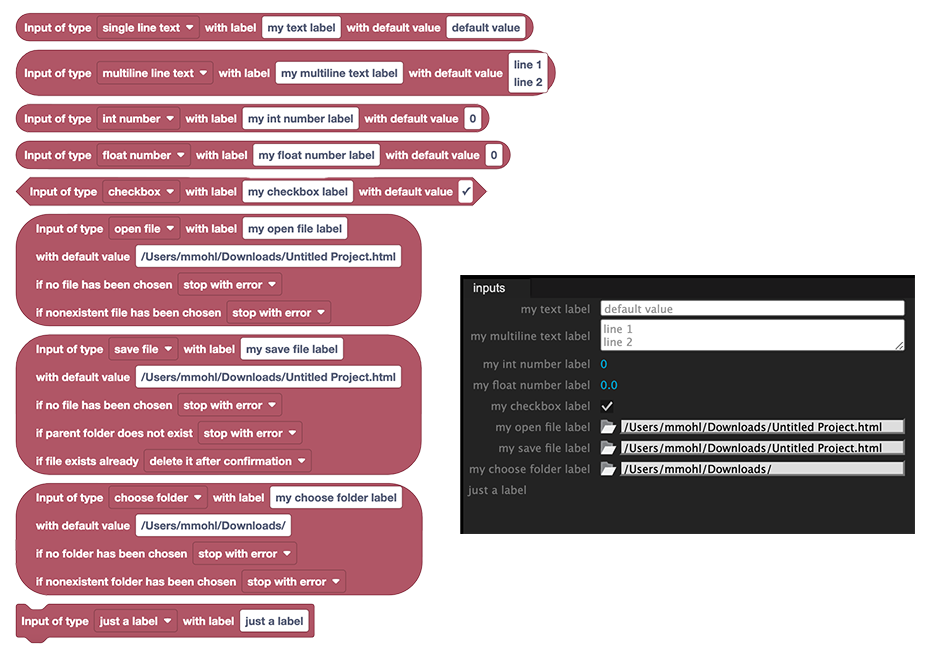
This example shows all available UI elements and the panel elements, which they create:
File & Folder Inputs
The input types open file, save file and choose folder are very similar, since they all offer an auto-complete text field to enter a file or folder path. However, there are subtle differences:
- open file allows the user to choose an existing file
- save file allows the user to choose a file (either an existing one or one that does not exist, yet)
- choose folder allows the user to choose a folder instead of a file
Binding Inputs to Variables
If you need to use the value of an input multiple times in your script, you cannot duplicate the input block, since this would also duplicate the user interface in the inputs panel.
Instead, we recommend to bind inputs to variables. Here we create a file input and store the file path which the user entered in the variable my file path:

Modal Input Dialog
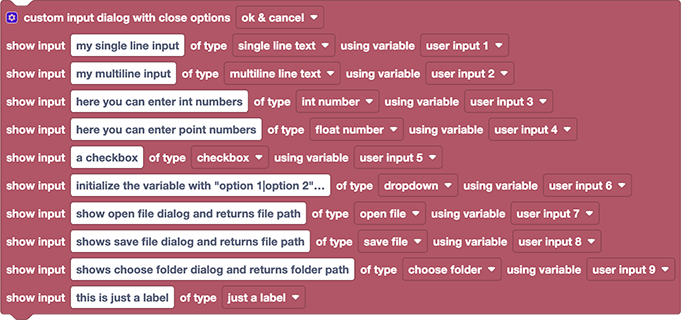
Yes, this block might looks scary at first sight, but it is very easy to use and allows you to create a custom user interface for your block script! The user interface elements are very similar to the ones of the Input block, but they are shown in a popup dialog instead of the inputs panel.
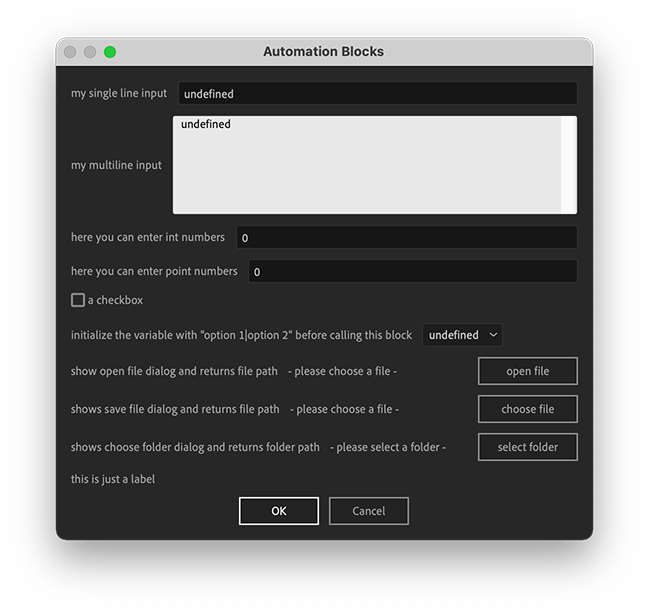
By default, the block shows a user interface which demonstrates all the available elements:
Choosing UI Elements
As you can see, each row of the block creates one input of the final dialog. To remove, add or reorder the inputs, click on the blue cogwheel icon in the top left corner of the block.
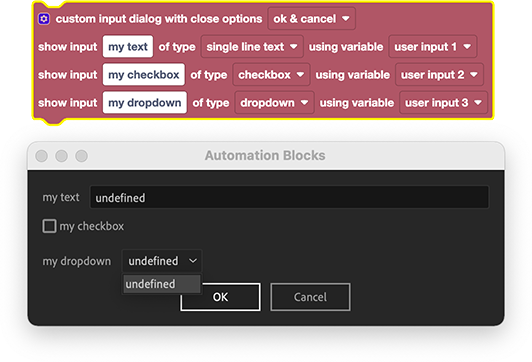
Here I removed all except the first three inputs, and have set their type to single line text, checkbox and dropdown:
Initialize Values
Note that the text input and the dropdown show the value undefined when the dialog opens. To change this, we need to understand that each input is connected to a variable, namely user input 1, user input 2, etc. The block shows as default value the value that the respective variable had before the block is executed, and after you entered the values and closed the dialog, it will set the variables to the values you entered.
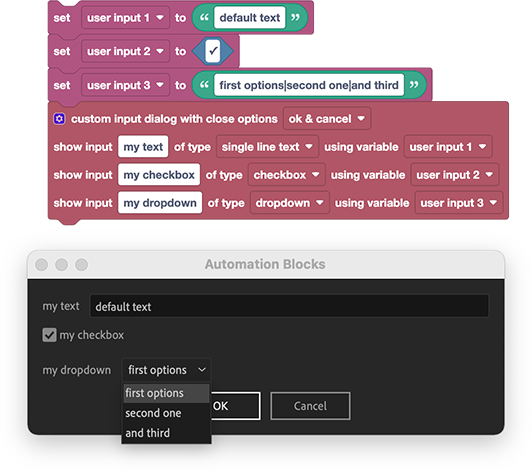
Hence, to change the default values we need to set the variables to the values we want, before the block that creates the user interface:
Persistant Values
Often it is convenient to remember the values that a user entered and use those as the default the next time the dialog is opened. To achieve this, you can save the values in the settings
Dropdown Lists
Note that we set user input 3 to first options|second one|and third. That's how you specify the options of a dropdown: Just use a single text where you separate the different options with a | symbol
If you want to access the values the user entered, you'll find them again in the variables user input 1 etc. If the user chose "second one" in the dropdown, for example, the variable user input 3 will have the value second one after the Modal Input Dialog block was executed.
Dropdown Lists with Color
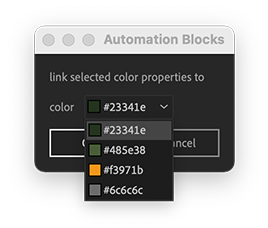
If your dropdown choices are hex codes like #ffffff or label color names like Sea Foam, Automation Blocks detects this automatically and shows the color next to the text. To create the dialog below, we initialized the variable of the dropdown with #23341e|#485e38|#f3971b|#6c6c6c:
Rename variables
In the dropdowns to the right end of each row of the block (the ones showing "user input 1" etc.), you can choose the variable that should be used by this input; you'll also find an option to rename the variable. Giving your variables meaningful names can make your scripts much easier to read.
Write to Console

This block prints the given message in Automation Block's console panel. This is useful
- to inform the user about progress
- to debug the output
- to output data (you can cut & paste text from the console to use it somewhere else), but for this you can also write text files
Alert Dialog

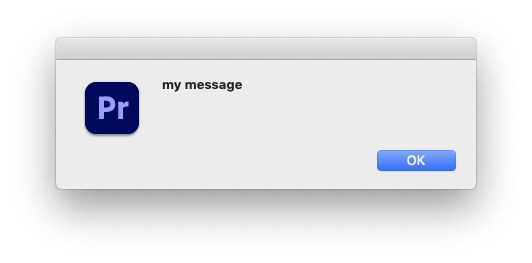
This block shows the given message in a popup dialog.
Message vs Error
You have the option to alert using a message or an error. The only difference is that in the latter case the script stops with an error after the message has been shown.
Alternative: Write to Console Block
If you want to show a lot of messages, it's better to use Log to Console, which does not require any user interaction to close the message popup.
Confirm Dialog

This block shows a popup window with a confirmation message, which you can answer with 'yes' or 'no'.
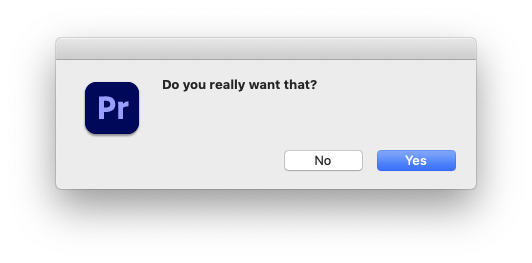
The block returns a logic value true or false (depending on if you answer 'yes' or 'no'), which you can use in if statements and other logic operations.
Save File Dialog
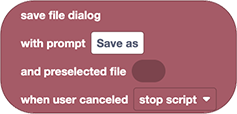
Shows a "Save File" dialog and returns the chosen file.
If you put a File block into the preselected file parameter, the dialog will choose this file by default, but still allow the user to choose another.
Hard-coded files
If you want to hard-code a particular file instead of allowing the user to choose one, you can use the File block instead.
Open File Dialog
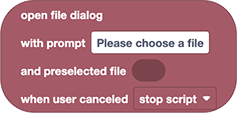
Shows an "Open File" dialog and returns the chosen file.
In contrast to the Save File dialog, in the Open File dialog the user can only choose existing files.
If you put a File block into the preselected file parameter, the dialog will choose this file by default, but still allow the user to choose another one.
Hard-coded files
If you want to hard-code a particular file instead of allowing the user to choose one, you can use the File block instead.
Open Folder Dialog
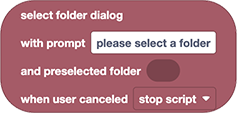
Shows an "Open Folder" dialog and returns the chosen folder.
If you put a Folder block into the preselected folder parameter, the dialog will choose this folder by default, but still allow the user to choose another one.
Hard-coded folder
If you want to hard-code a particular folder instead of allowing the user to choose one, you can use the Folder block instead.
Bug in Premiere Pro 24.2
Bug in PR2024
In Premiere Pro 2024 versions 24.2 and probably also 24.3 there is a bug which causes the select dialog to fail.
If your Pr version still has this bug, this block will not show a dialog and returns null immediately.
Workarounds:
- use a newer Pr version (the current beta or any release newer than Pr 24.3 already contains the fix) or
- hard-code a folder (using a folder block)
Prompt Dialog

Shows a prompt dialog box where the user can enter some text.
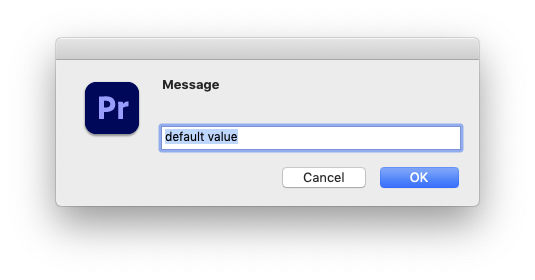
You can use this block instead of a simple text block whenever you want the user to enter a custom text instead of using a hard-coded one.
Comment - Open Web Page

Allows you to embed a link to a website (like a documentation or tutorial). If you click the play button next to the open web page text, the given url opens in the default web browser. This block has no effect on the Automation Blocks script at all and is just for documentation purposes.
Help Button
If you click on the Help button of the Automation Blocks library panel, it will always open the link of the first Open Web Page block of the currently selected block script. If the script contains no Open Web Page block, the Help button is disabled.

Comment - Text

Use this block to add comments to your script. This block has no effect on the Automation Blocks script at all and is just for documentation purposes.